Impressive Info About How To Build A Rain Gage

Making A Rain Gauge

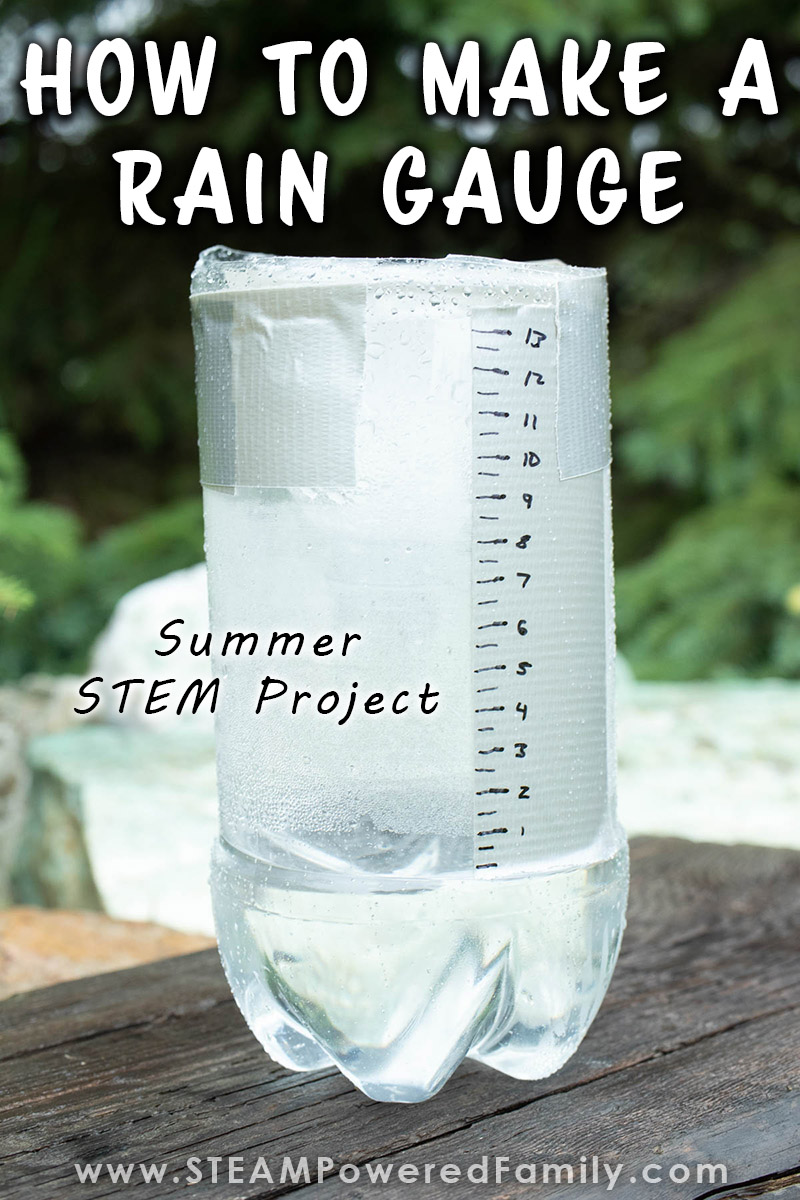
How To Make A Rain Gauge - Easy Step By Guide With Video

How To Build A Rain Gauge At Home In 5 Easy Steps | Wjla

Make Your Own Rain Gauge | Miracle-gro


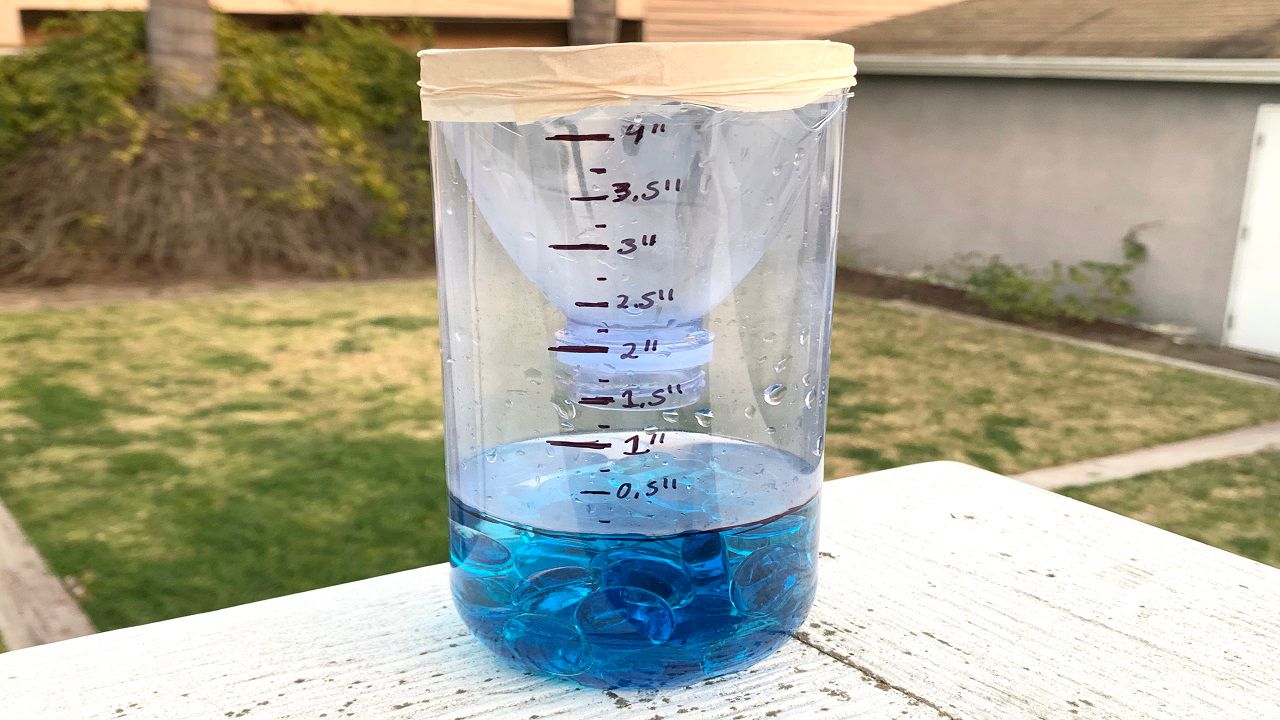
Diy Rain Gauge | Science Project Education.com
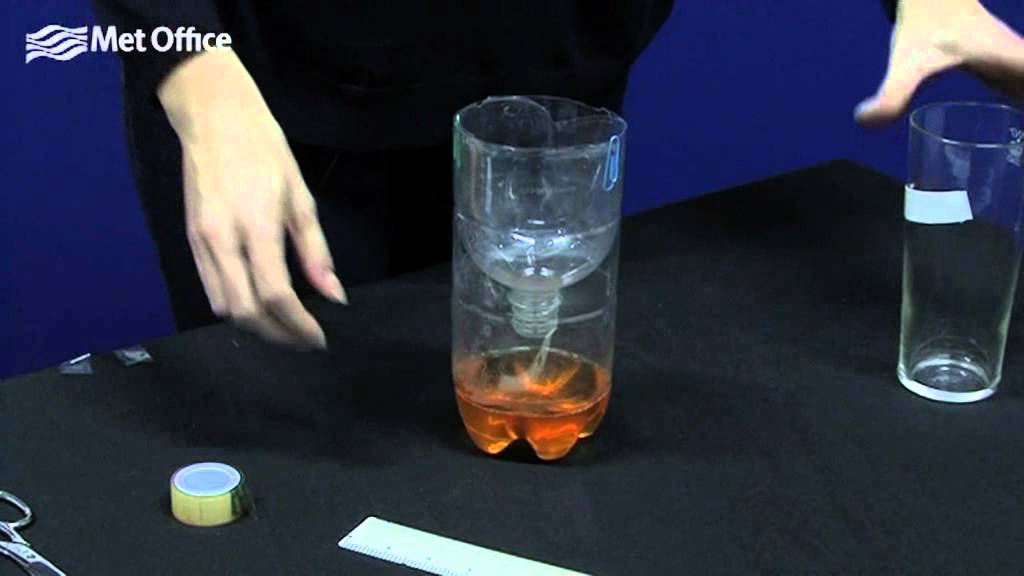
Take a 2l pop bottle and remove the cap and label, wash and dry it.
How to build a rain gage. The size of the rain gauge depends on the climate and. If you do not have a water hose with. In general, a rain gauge should be at least three feet above the ground.
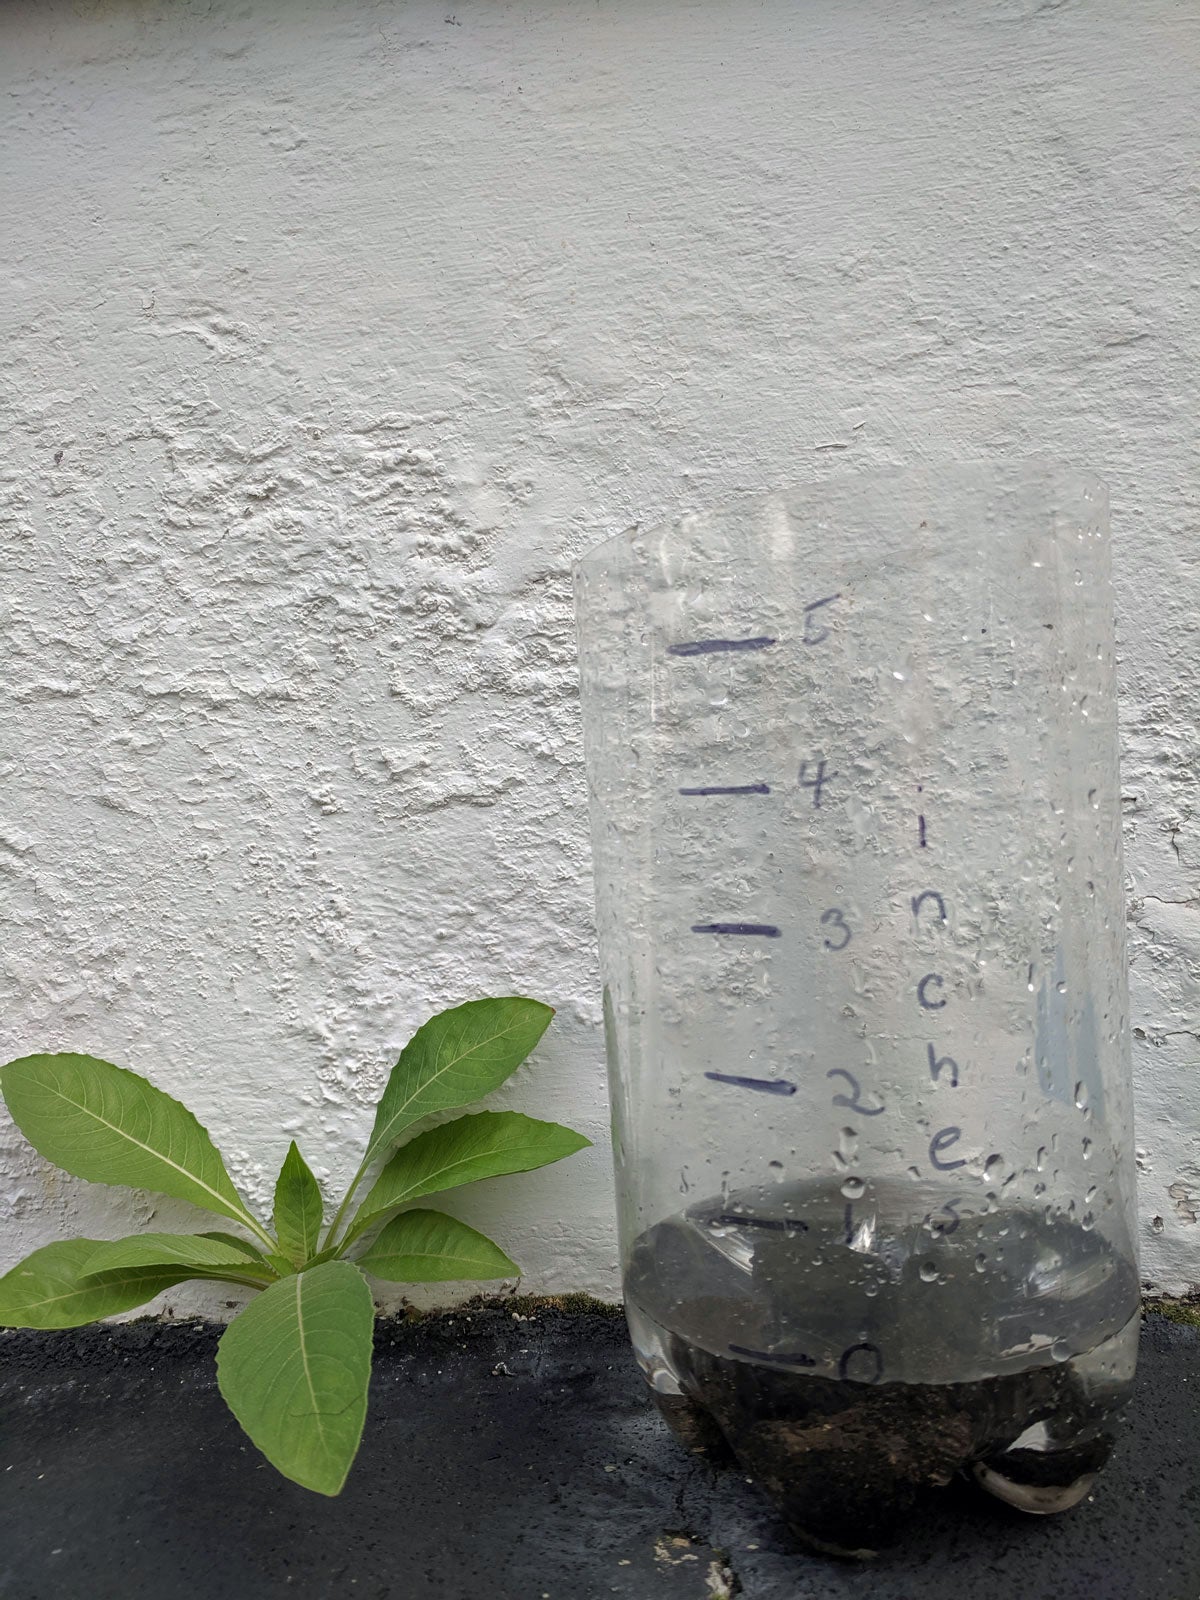
It must be open and away from trees. Its the time for rain and if you want to measure it, its simple if you watch this video on how to make a rain gauge. Use a ruler to mark inches going up from there.
Make a scale in centimetres on a piece of tape, using a ruler, and fix it to the side of your bottle. Also, rain may be blown from or into the gauge by wind gusts accompanying the rain storm. And that's it, you're ready to go!
Find a place outside to put your rain gauge. Theory is, the gauge should be placed twice the distance as the height of the. Label all marks, starting at the bottom with zero.
Check in with each group and provide support where needed. Rain gauges can be as small as 2 inches or as large as 20 inches. Let students build their rain gauges independently.
This is a simple rain gauge you can make easily at home, school or at camp. Add small pebbles and or sand to the bottle, up to the start of.

Weather At Home: Diy Rain Gauge | Fox31 Denver

How To Make A Rain Gauge - Easy Step By Guide With Video
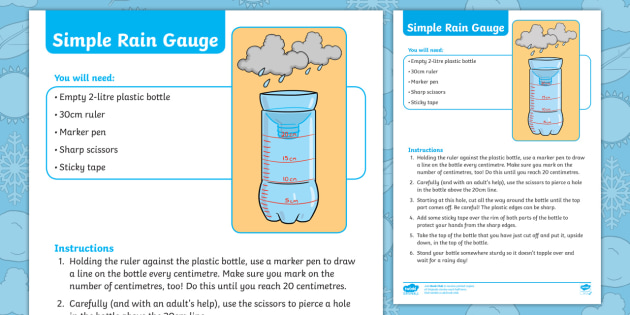
Simple Rain Gauge Craft Instructions | Primary Resources
How To Collect Rainwater In Your Own Backyard
Garden Rain Gauge Project: How To Teach Kids About In The

How To Build A Rain Gauge: 15 Steps (with Pictures) - Wikihow

Build Your Own Weather Station Part 1 - A Rain Gauge Youtube
Make Your Own Rain Gauge - Youtube

Activity: Build A Rain Gauge | Manoa.hawaii.edu/sealearning
/cloudfront-us-east-1.images.arcpublishing.com/gray/IHEQCNUIXRMBPJZ2CK5ZNKNEUI.jpg)
How To Make Your Own Rain Gauge


Make A Rain Gauge : 8 Steps (with Pictures) - Instructables
